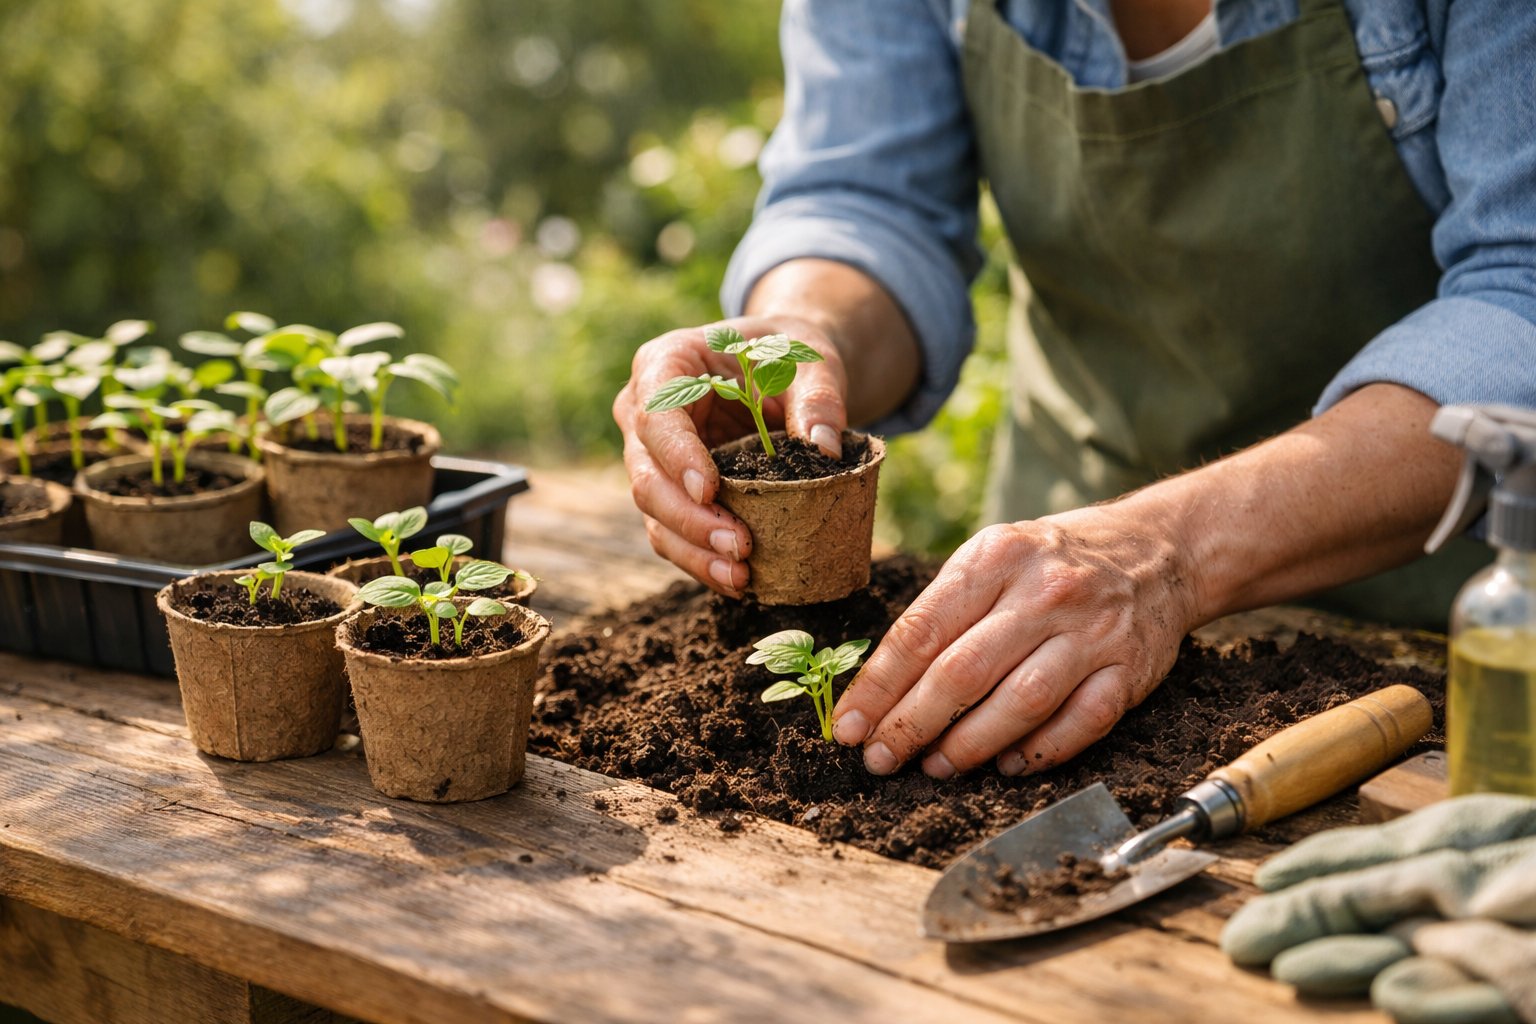
You've started seeds indoors and watched them grow into healthy seedlings. Now they're almost ready to move outside. But transplanting them directly from their cozy indoor spot to the garden can shock or even kill them.
Hardening off is the process of gradually exposing indoor seedlings to outdoor conditions like sun, wind, and temperature changes over 7 to 14 days. This transition period helps seedlings build up their natural defenses and develop a protective waxy coating on their leaves. Without this step, plants can suffer from scorched leaves, broken stems, stunted growth, or death.
The good news is that hardening off is simple and doesn't require special equipment. With a basic schedule and about a week of time, gardeners can prepare their seedlings to thrive in the outdoor garden.
Key Takeaways
- Hardening off prevents transplant shock by slowly adjusting seedlings to outdoor sun, wind, and temperature over one to two weeks
- Start the process when nighttime temperatures stay above 50°F and seedlings have their first true leaves
- Begin with 2 to 3 hours of partial sun and gradually increase exposure each day until plants can stay outside overnight
What Is Hardening Off?
Hardening off is the process of gradually preparing indoor seedlings for outdoor conditions before transplanting them into the garden. This transition period helps plants build strength and adjust to elements like direct sunlight, wind, and temperature changes they haven't experienced indoors.
Definition and Importance
Hardening off is the gradual acclimation of seedlings to outdoor environmental conditions over a period of 7-14 days. When gardeners start seeds indoors, those plants grow in stable, protected conditions with consistent temperatures, filtered light, and no wind exposure. Moving them directly outside without preparation causes severe stress.
The process works by exposing seedlings to outdoor conditions for increasingly longer periods each day. Gardeners start with just 1-2 hours of outdoor time in a shaded, protected spot, then slowly increase both the duration and intensity of exposure.
This step is critical for transplant success. Indoor-grown seedlings lack the protective adaptations that outdoor plants develop naturally. Their leaves are tender, their stems are weak, and their root systems haven't learned to cope with environmental stress. Without hardening off, seedlings face a high risk of damage or death when moved outside.
All types of seedlings need hardening off, whether they are vegetables, flowers, or herbs. The process applies equally to tomatoes, peppers, lettuce, and any other plant started indoors.
How Hardening Off Works
The hardening off process triggers physical changes in plant tissue that increase durability and stress resistance. During this period, seedlings develop thicker cell walls, stronger stems, and a waxy coating on leaves called a cuticle that protects against moisture loss and sun damage.
Plants also adjust their internal processes to handle outdoor conditions. They learn to regulate water more efficiently, strengthen their root systems, and adapt their photosynthesis rates to direct sunlight rather than artificial grow lights.
The typical hardening off schedule looks like this:
Days 1-3: Place seedlings in a shaded outdoor area for 2-3 hours during mild weather\ Days 4-6: Increase outdoor time to 4-5 hours with some morning sun exposure\ Days 7-10: Extend to 6-8 hours with more direct sunlight\ Days 11-14: Leave seedlings outside all day, bringing them in only if frost threatens
Temperature matters significantly during this process. Seedlings should not be exposed to temperatures below 45°F or above 85°F during the initial days of hardening off.
Consequences of Skipping Hardening Off
Plants moved directly from indoors to the garden experience transplant shock, a condition that stunts growth or kills seedlings entirely. The most visible symptoms include wilting leaves, discoloration, leaf drop, and scorched or bleached foliage from sun exposure.
Transplant shock occurs because seedlings cannot regulate water properly in harsh conditions. Their unprepared leaves lose moisture faster than roots can replace it. Strong sun can burn tender leaf tissue in hours, while cold temperatures can damage cell structures overnight.
Beyond immediate visible damage, skipped hardening off creates long-term problems. Shocked plants grow more slowly, produce smaller yields, and become more vulnerable to diseases and pests. Some seedlings never fully recover and remain weak throughout the growing season.
Root damage is another serious consequence. When stressed seedlings are transplanted, their already-struggling root systems may fail to establish properly in garden soil. This leads to poor nutrient uptake and continued weakness even after the plant appears to stabilize.
The survival rate drops dramatically without proper acclimation. Studies show that hardened-off seedlings have transplant success rates above 90%, while seedlings moved directly outside often see failure rates of 50% or higher depending on weather conditions.
When to Harden Off Seedlings
Start hardening off seedlings 7-10 days before the planned transplanting date, when daytime temperatures stay consistently above 60°F. The timing depends on the local last frost date and the specific needs of each plant variety.
Timing with Last Frost Date
The last spring frost date serves as the main reference point for when to harden off seedlings. Gardeners should count backward 7-10 days from their area's average last frost date to begin the hardening process.
Cold-hardy plants like broccoli, cabbage, and kale can start hardening off 2-3 weeks before the last frost date since they tolerate temperatures down to 32°F. Warm-season crops like tomatoes, peppers, and cucumbers need to wait until after the last frost date has passed and nighttime temperatures remain above 50°F.
Check the local frost dates through agricultural extension offices or gardening websites. These dates represent averages, so gardeners should monitor current weather forecasts during the hardening period. Some regions experience unexpected late frosts that can damage or kill tender seedlings.
Assessing Seedling Readiness
Seedlings need proper development before moving outdoors. They should stand at least 2-3 inches tall with 2-4 sets of true leaves.
Signs of readiness include:
- Strong, sturdy stems that don't flop over
- Healthy green leaves without yellowing or spots
- Well-established root systems visible at drainage holes
- Plants that have recovered from recent transplanting (wait 7 days after potting up)
Seedlings grown under grow lights or in warm indoor conditions need more gradual adjustment than those started in cooler areas. Remove humidity domes or plastic covers at least one week before starting the hardening process. Running a fan on low setting for several days helps strengthen stems before exposure to outdoor winds.
Weather Considerations
Choose a week with mild, stable conditions to begin hardening off seedlings outdoors. Start the process on a weekend or when someone can monitor the plants throughout the day.
Avoid starting during periods of heavy rain, strong winds, or temperature extremes. Ideal conditions include calm days with temperatures between 60-75°F and partly cloudy skies. Direct afternoon sun can burn tender leaves during the first few days outside.
Watch extended forecasts for potential frost warnings. Even hardened seedlings need protection from freezing temperatures through frost cloths or by moving them back indoors overnight. Delay the hardening schedule if severe weather approaches, as pushing seedlings too quickly causes permanent damage or death.
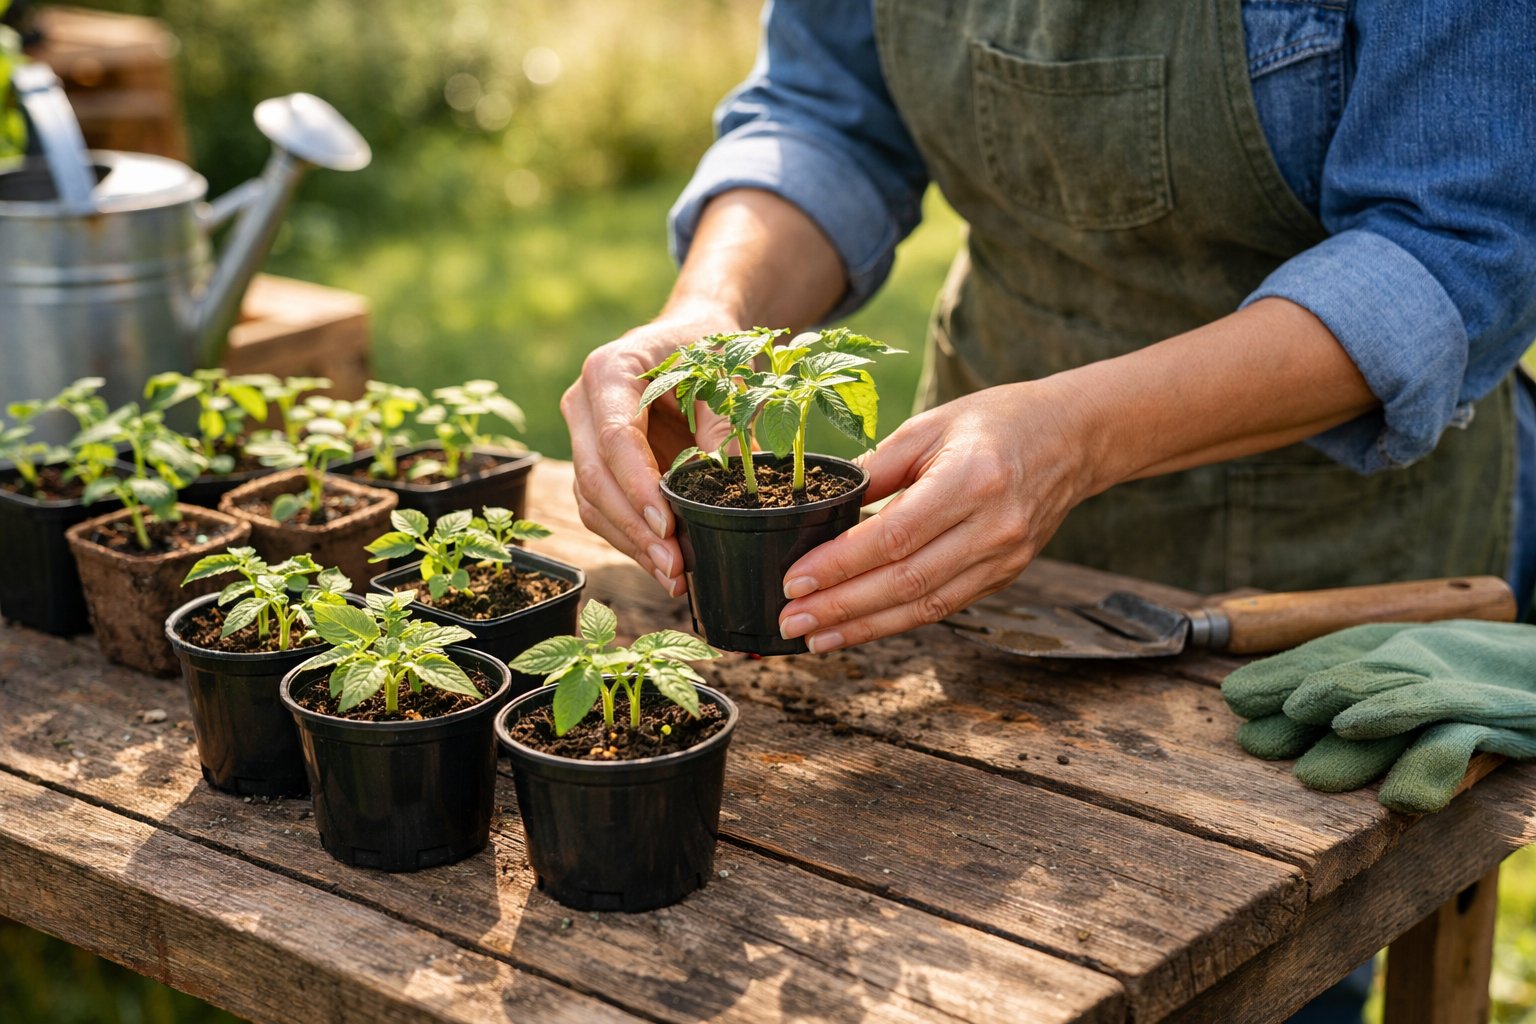
Preparing Seedlings for the Hardening Off Process
Before starting the hardening off process, seedlings need to be physically ready for outdoor conditions. Healthy plants with strong root systems and proper watering practices will handle the transition much better than weak or stressed seedlings.
Healthy Seedling Traits
Seedlings must have at least 2-3 sets of true leaves before beginning the hardening off process. True leaves appear after the initial cotyledons (seed leaves) and look like the mature plant's foliage.
The stems should be sturdy and upright, not leggy or floppy. A rich green color indicates good health, while pale or yellow stems suggest the plant needs more time under grow lights. Leggy seedlings that grew too tall from insufficient light need strengthening before facing outdoor elements.
Root health matters just as much as what's visible above the soil. A gentle lift from the container should reveal a web of white roots holding the soil together. Sparse roots or crumbling soil means the seedling needs more time to develop before transplanting outdoors.
Strong stems can be encouraged by gently brushing hands over the seedlings a few times daily. This mimics wind movement and helps build sturdier plant structure before actual outdoor exposure begins.
Adjusting Water and Fertilizer
Watering needs change as seedlings prepare to move outside. The soil should stay consistently moist but never waterlogged during the week before starting the hardening off process.
Starting seeds indoors typically involves lighter, more frequent watering schedules. As plants grow larger and prepare for outdoor life, they need deeper watering to encourage stronger root development. Check the soil daily by inserting a finger about an inch deep into the growing medium.
Fertilizer application should be reduced slightly in the few days before beginning outdoor exposure. Too much nitrogen can create soft, tender growth that struggles with sun and wind. If seedlings have been on a regular feeding schedule, stretch it out by an extra day or two before the hardening off period begins.
Starting Indoors with Movement and Airflow
Indoor acclimation helps bridge the gap between sheltered growing conditions and the outdoor environment. A small fan running on low speed for a few hours daily strengthens stems and prepares leaves for wind exposure.
Position the fan so it creates gentle air movement rather than a direct blast. The seedlings should sway slightly but not bend over from the force. Start with 1-2 hours of fan exposure and gradually increase to 4-6 hours over several days.
This indoor preparation step reduces transplant shock by toughening up the plant tissue before actual outdoor conditions begin. The movement stimulates the plant to produce thicker, more resilient cell walls in the stems and leaves, making the eventual transition to garden conditions less stressful for the seedlings.
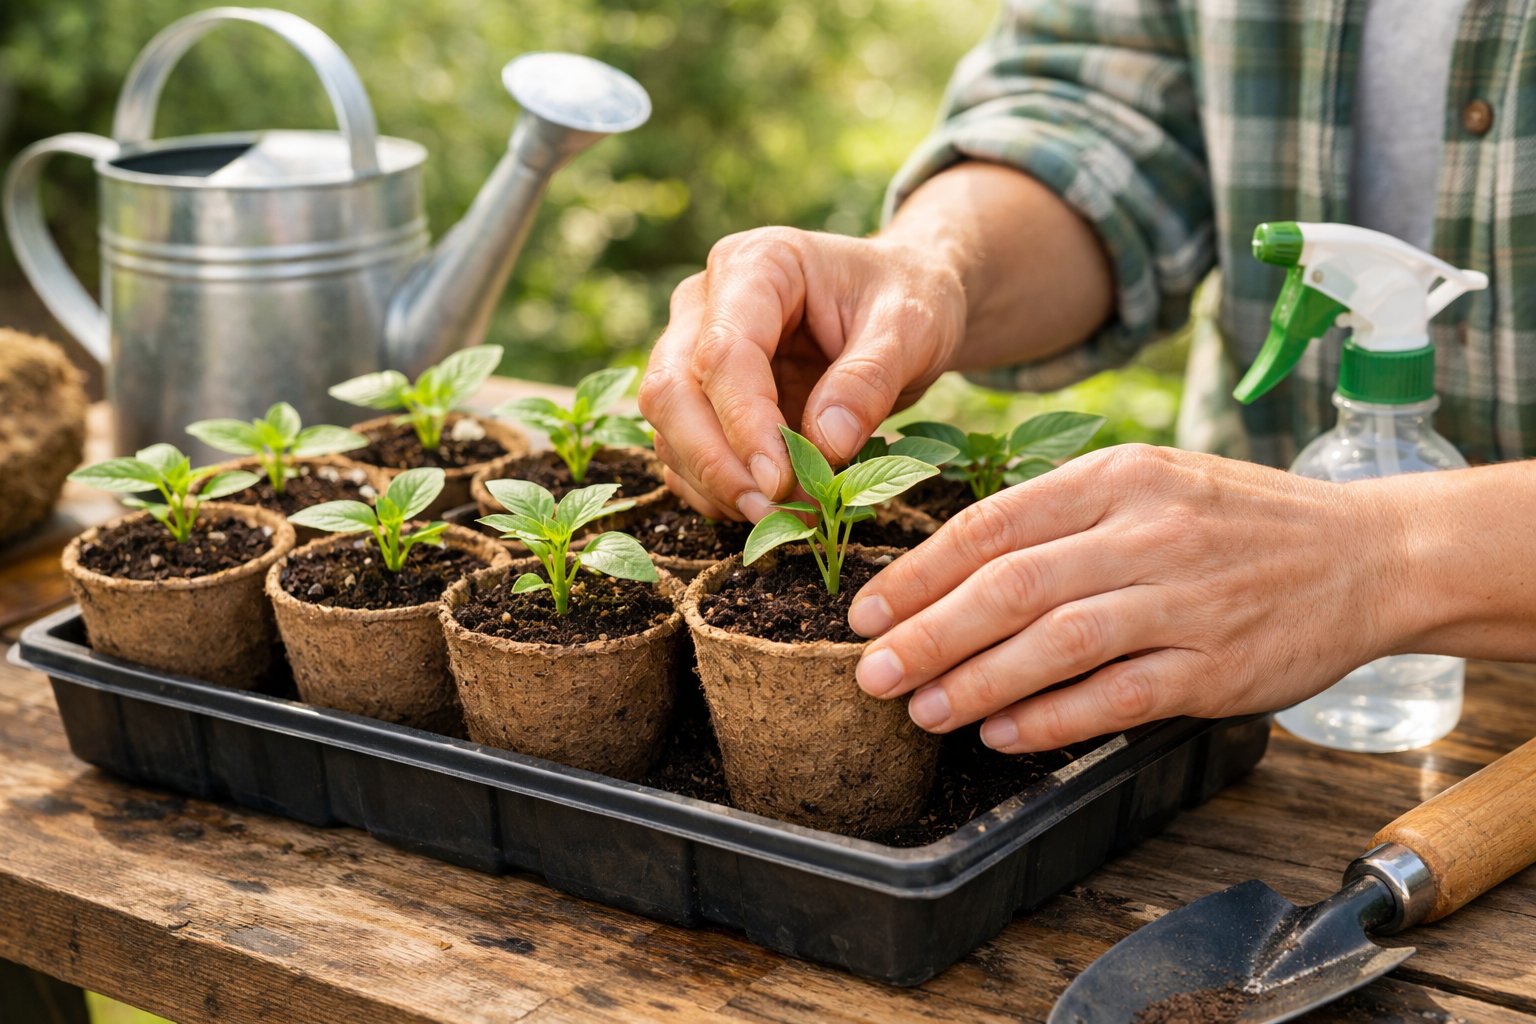
Step-by-Step Guide to Hardening Off Seedlings
The hardening off process requires a gradual, day-by-day approach that slowly introduces seedlings to outdoor conditions over 7-10 days. Success depends on careful management of sun exposure, wind protection, and strategic use of shaded areas during the transition period.
Day-by-Day Exposure Schedule
Days 1-2: Initial Outdoor Introduction
On the first day, seedlings should spend only 1-2 hours outside in a protected location. The temperature should be mild, ideally between 60-70°F, with no wind or direct sunlight. After this brief period, bring the plants back indoors.
On day two, increase outdoor time to 2-3 hours in the same protected conditions.
Days 3-5: Building Tolerance
Gradually add 1-2 hours of outdoor time each day. By day three or four, seedlings can handle 4-5 hours outside. Start introducing brief periods of morning sun, which is gentler than afternoon rays.
Check plants frequently for signs of stress like wilting or leaf discoloration. Water more often since outdoor conditions dry soil faster than indoor environments.
Days 6-7: Extended Exposure
Seedlings should now stay outside for 6-8 hours daily. They can handle more direct sunlight and slightly breezier conditions. If nighttime temperatures remain above 50°F, leave plants outside overnight.
Days 8-10: Final Preparation
Plants can remain outdoors 24 hours a day. They are now ready for transplanting into the garden.
Managing Sunlight and Wind
Direct sunlight and wind pose the biggest risks when learning how to harden off seedlings. Start with dappled shade or morning sun only, as afternoon sun is too intense for tender plants fresh from indoor conditions.
Watch for sunburn symptoms, which appear as white or yellowed leaves. If this occurs, move plants back to shade immediately and slow down the hardening off process.
Wind strengthens plant stems but can also snap them or dry out soil rapidly. Position seedlings near a wall or fence for wind protection during the first few days. Gradually move them to more exposed locations as stems thicken and plants adapt.
On particularly windy days (over 15 mph sustained winds), keep seedlings in their protected spot or bring them indoors. The plants need gentle breezes, not harsh gusts.
Using Shade and Sheltered Locations
The best location to harden off plants is against a house wall on the east or north side, where seedlings receive protection from wind and intense afternoon sun. This creates an ideal microclimate for the initial transition days.
Effective Sheltered Spots Include:
- Covered porches with filtered light
- Areas under tree canopy with dappled shade
- North-facing walls or fences
- Cold frames with adjustable lids
A folding table makes moving multiple seed trays easier and keeps plants off cold ground. As seedlings strengthen, gradually move them away from protected areas toward their final garden location. This helps them adjust to the specific light and wind conditions they will face after transplanting.
Protective Tools and Methods During Hardening Off
The right protective tools create a buffer between delicate seedlings and harsh outdoor conditions. These methods allow gardeners to control exposure while building plant resilience gradually.
Cold Frames and Greenhouses
Cold frames act as halfway houses for seedlings transitioning outdoors. These box-like structures with transparent tops trap warmth while protecting plants from wind and extreme temperature swings.
Gardeners can adjust ventilation by propping open the lid partially on day one, then opening it wider each day. This creates a controlled environment where seedlings experience outdoor conditions without full exposure. The frame's walls block harsh winds while the adjustable top regulates heat and light intensity.
Small greenhouses work similarly but offer more space and versatility. They let gardeners harden off entire flats of seedlings at once. Both options extend the growing season and provide shelter during unexpected cold snaps or storms.
The key advantage is control. A gardener can close the frame completely during a sudden temperature drop, then resume the hardening process when weather stabilizes.
Row Covers and Frost Blankets
Row covers and frost blankets drape directly over seedlings to diffuse intense sunlight and block wind. These lightweight fabrics reduce light exposure by 15-50% depending on thickness, making them ideal for the first few days of hardening.
Common types include:
- Lightweight floating row covers for sun protection
- Medium-weight covers for wind and light frost
- Frost blankets for overnight temperature drops
Gardeners can secure covers with stakes, rocks, or garden staples. The fabric allows air and moisture through while creating a gentler microclimate. As seedlings adapt, the covers can be removed for increasing periods each day.
These materials also serve as emergency protection when unexpected weather hits mid-hardening. A gardener can quickly throw a frost blanket over trays if temperatures plunge overnight.
DIY Cloches and Barriers
Simple household items make effective seedling protection. Milk jugs with the bottoms cut off function as individual cloches, trapping warmth around single plants while their removable caps allow ventilation adjustments.
Clear plastic domes, overturned buckets, and even cardboard boxes block wind and shade seedlings during peak sun hours. Garden fencing or plant trays positioned near shrubs or buildings create windbreaks that reduce stress on tender leaves.
Quick DIY options:
- Cut plastic bottles for individual plant covers
- Inverted laundry baskets for quick shade
- Old bedsheets draped over stakes for temporary shelter
These improvised tools cost little to nothing but provide real protection. A gardener can move them easily as seedlings strengthen, removing barriers for longer periods each day. The flexibility of DIY solutions lets anyone adapt their hardening setup to available materials and specific garden conditions.
Special Considerations and Troubleshooting
Different plant types need different hardening off approaches, and weather changes can disrupt even the best plans. Recognizing stress signs early helps gardeners adjust their methods before seedlings suffer permanent damage.
Adapting for Cold-Hardy and Tender Crops
Cold-hardy crops like kale, lettuce, broccoli, and spinach tolerate temperatures down to 45°F and can start hardening off before the last frost date. These plants handle cooler conditions and can survive light frosts with row cover protection. Gardeners can begin moving them outdoors when daytime temperatures stay above 50°F consistently.
Tender crops like tomatoes, peppers, eggplant, cucumbers, and squash need warmer conditions. These plants should not go outside until nighttime temperatures stay above 50°F and all frost danger has passed. A 45°F day that barely affects kale seedlings can severely stress a cucumber plant.
Summer seedlings also need hardening off even though greenhouse temperatures feel warm. The shade cloth in greenhouses reduces light intensity, so seedlings grown in summer still need gradual exposure to full outdoor sun. Moving them too quickly causes sunburn and wilting from increased wind exposure.
Responding to Weather Changes
Gardeners must check weather forecasts daily during the hardening off process. Winds above 5 miles per hour during the first few days outdoors can damage tender seedlings. If unexpected high winds arrive, covering plants with row cover reduces the impact.
Sudden temperature drops require bringing seedlings back indoors or providing extra protection. An unexpected cold snap can undo days of progress. Gardeners should have a backup plan to shelter seedlings quickly.
Heavy rain can waterlog potting soil and stress seedlings. Moving trays under cover during storms prevents this issue. If temperatures drop below 40°F unexpectedly, seedlings should return to their indoor location until conditions improve.
Identifying and Managing Stress Signs
Wilting leaves indicate either too much sun exposure or inadequate watering. Gardeners should move wilted seedlings to shade and check soil moisture immediately. If soil feels dry, water thoroughly and reduce outdoor time the next day.
Yellowing or bleached leaves signal sunburn from excessive light. These seedlings need more time in partial shade before moving to full sun locations. Purple or reddish leaves on some plants indicate cold stress and mean temperatures are too low.
Dropped leaves show severe transplant shock. Affected seedlings need to return indoors for recovery before trying again. Stunted growth after a few days outside means the hardening off process moved too quickly. Slow down the schedule and extend time in protected areas before increasing exposure.
Frequently Asked Questions
The hardening off process typically takes one to two weeks, with seedlings gradually exposed to outdoor conditions for increasing periods each day. Most plants can begin this transition when daytime temperatures reach 45°F to 50°F, though timing varies by plant type.
What is the proper duration for hardening off seedlings before transplanting them outdoors?
The hardening off process generally takes one to two weeks from start to finish. Gardeners should begin two weeks before the last expected spring frost for most plants.
Cold-hardy seedlings like broccoli and radishes can start the process four weeks before the last frost. The process is complete when seedlings can remain outdoors most of the day in appropriate light conditions without showing stress.
What are the gradual steps to effectively harden off seedlings?
On the first day, seedlings should be placed outdoors in a sheltered area with dappled light for one hour. The second day increases to two hours in the same conditions.
Each subsequent day adds more time outdoors while gradually increasing light exposure. By the end of the first week, seedlings can stay outside for several hours. During the second week, outdoor time extends to most of the day with full exposure to their needed light levels.
A partially overcast day works best for starting the process. Seedlings should always return indoors or to a protected space if temperatures drop unexpectedly.
Can hardening off seedlings be done if you have a full-time job, and how?
Working gardeners can successfully harden off seedlings by focusing on evening and weekend sessions. Seedlings can be moved outdoors after work for a few hours before sunset.
Weekend days allow for longer exposure periods to catch up on the schedule. Using a wheelbarrow to transport multiple trays saves time when moving plants in and out. A cold frame or small greenhouse with doors that open and close makes the process easier, as it only requires adjusting ventilation rather than moving plants.
Are there any downsides to the hardening off process for seedlings?
The hardening off process requires daily attention and time commitment for one to two weeks. Gardeners must monitor weather forecasts closely and adjust schedules when unexpected cold snaps or storms occur.
Forgetting to bring plants inside during cold nights can damage or kill tender seedlings. The process also requires available outdoor space that receives appropriate light levels and protection from strong winds. Plants need regular watering checks during this period, as outdoor conditions dry soil faster than indoor environments.
At what temperatures should seedlings be hardened off?
Most seedlings can begin hardening off when daytime temperatures consistently reach 45°F to 50°F. Cold-hardy plants like cabbage, kale, and broccoli tolerate temperatures between 40°F and 70°F.
Heat-loving plants including tomatoes, peppers, and eggplants need warmer conditions. These plants should only go outside when nighttime temperatures stay above 55°F to 60°F. Final transplanting should wait until temperatures remain above 50°F at night for most plants.
Gardeners should bring seedlings indoors or provide frost protection if temperatures are expected to drop below these thresholds.
What are the best practices for hardening off tomato seedlings specifically?
Tomato seedlings are sensitive to cold and require nighttime temperatures above 55°F to 60°F before transplanting. They should start hardening off two weeks before the last expected frost date when temperatures are warm enough.
Tomatoes need gradual exposure to direct sunlight since they eventually require full sun conditions. The first few days should provide only dappled or filtered light to prevent sun scorch on leaves. Water should be reduced gradually during the hardening off period to prepare plants for drier garden conditions.
Transplanting should occur on an overcast day when nighttime lows stay consistently above 60°F. If cold weather strikes after transplanting, frost blankets or makeshift cloches protect the plants until temperatures improve.


